IOT Weather Indicator
I am working an IOT Weather Indicator. This project will grab weather from the internet using API’s and will display them on a small screen.
| Engineer | School | Area of Interest | Grade |
|---|---|---|---|
| Devan G | Mark Day School | Electrical Engineering | Rising 7th Grader |

Circut

Reflections
What I have learned about myself from this program is that I like Electrical Engineering. I like the mix of coding and building that can get this kind product where I can see my hard work be shown off. With Electrical Enginnering, you can build and code something so you can put it on your desk and a wall. You can just look at it and admire your hard work and that is something I like to do. It gives me the feeling that all of my struggles in the project eventually payed off.
Demo Night

Final Milestone
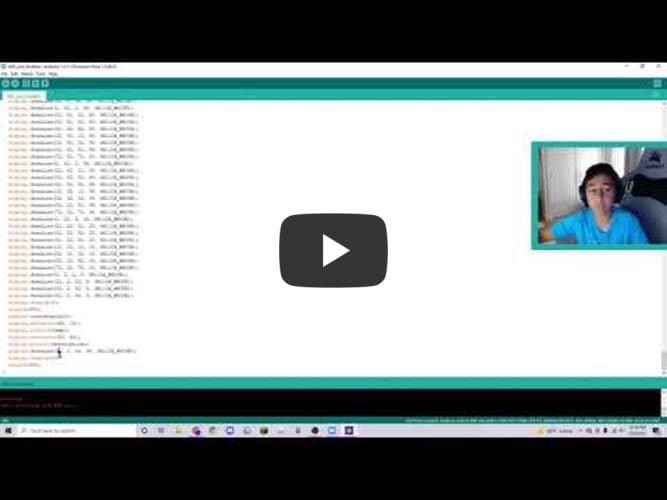
My final milestone was coding animations for my OLED display so my IOT Weather Indicator can have more personality. I also added some text that would say what the weather was like cloudy, clear, rain, etc. I had to deserialize an array to get access to the descriptions of the weather and also in that array are something called icons. Those icons won’t actually display on my screen but I used them to display animations. After I had deserialized everything, I then added an if statement saying that if this icon = true, display this animation. Now, my display has animations that make my project more alive.
void sunny() {
  display.setTextSize(1);
  display.setTextColor(SH110X_WHITE);
  display.fillCircle(1, 1, 14, SH110X_WHITE);
  display.drawLine(18, 2, 40, 2, SH110X_WHITE);
  display.drawLine(15, 10, 36, 18, SH110X_WHITE);
  display.drawLine(8, 17, 22, 36, SH110X_WHITE);
  display.drawLine(2, 22, 2, 44, SH110X_WHITE);
  display.display();
  delay(1000);
  display.clearDisplay();
  display.setTextSize(1);
  display.setTextColor(SH110X_WHITE);
  display.setCursor(92, 10);
  display.println(temp);
  display.setCursor(92, 42);
  display.println(description);
  display.drawLine(86, 0, 86, 64, SH110X_WHITE);
  display.fillCircle(1, 1, 14, SH110X_WHITE);
  display.drawLine(29, 2, 51, 2, SH110X_WHITE);
  display.drawLine(26, 14, 47, 22, SH110X_WHITE);
  display.drawLine(15, 27, 29, 46, SH110X_WHITE);
  display.drawLine(2, 33, 2, 55, SH110X_WHITE);
  display.display();
  delay(1000);
  display.clearDisplay();
  display.setTextSize(1);
  display.setTextColor(SH110X_WHITE);
  display.setCursor(92, 10);
  display.println(temp);
  display.setCursor(92, 42);
  display.println(description);
  display.drawLine(86, 0, 86, 64, SH110X_WHITE);
  display.fillCircle(1, 1, 14, SH110X_WHITE);
  display.drawLine(40, 2, 62, 2, SH110X_WHITE);
  display.drawLine(37, 18, 58, 26, SH110X_WHITE);
  display.drawLine(23, 37, 36, 56, SH110X_WHITE);
  display.drawLine(2, 44, 2, 66, SH110X_WHITE);
  display.display();
  delay(1000);
  display.clearDisplay();
  display.setTextSize(1);
  display.setTextColor(SH110X_WHITE);
  display.setCursor(92, 10);
  display.println(temp);
  display.setCursor(92, 42);
  display.println(description);
  display.drawLine(86, 0, 86, 64, SH110X_WHITE);
  display.fillCircle(1, 1, 14, SH110X_WHITE);
  display.drawLine(51, 2, 73, 2, SH110X_WHITE);
  display.drawLine(48, 22, 69, 30, SH110X_WHITE);
  display.drawLine(32, 51, 38, 66, SH110X_WHITE);
  display.drawLine(2, 55, 2, 77, SH110X_WHITE);
  display.display();
  delay(1000);
  display.clearDisplay();
  display.setTextSize(1);
  display.setTextColor(SH110X_WHITE);
  display.setCursor(92, 10);
  display.println(temp);
  display.setCursor(92, 42);
  display.println(description);
  display.drawLine(86, 0, 86, 64, SH110X_WHITE);
  display.fillCircle(1, 1, 14, SH110X_WHITE);
  display.drawLine(62, 2, 85, 2, SH110X_WHITE);
  display.drawLine(59, 26, 80, 34, SH110X_WHITE);
  display.clearDisplay();
  display.setTextSize(1);
  display.setTextColor(SH110X_WHITE);
  display.setCursor(92, 10);
  display.println(temp);
  display.setCursor(92, 42);
  display.println(description);
  display.drawLine(86, 0, 86, 64, SH110X_WHITE);
  display.fillCircle(1, 1, 14, SH110X_WHITE);
  display.display();
  delay(1000);


}
This is the sun animation! What is happening in this code is I am drawing a circle in the top left then drawing four lines then waiting one second clearing everything, drawing the circle, the temperature, and the description, then it prints the line again but in the middle of where the last one was. I then repeat this until the lines reach the end of the screen. Then I have just the circle print and nothing else so then when it loops it doesn’t look rushed.
  display.fillCircle(2, 46, 8, SH110X_WHITE);
  display.fillCircle(12, 46, 8, SH110X_WHITE);
  display.fillCircle(7, 42, 8, SH110X_WHITE);
This is the cloud code. This is the code that draws the clouds. I decided it looked better with 3 circles instead of 4.
    display.drawLine(2, 2, 2, 8, SH110X_WHITE);
  display.drawLine(22, 2, 22, 8, SH110X_WHITE);
  display.drawLine(42, 2, 42, 8, SH110X_WHITE);
  display.drawLine(62, 2, 62, 8, SH110X_WHITE);
This is the first line of rain. To get the rain to have the look of falling down, I copy the code, change the orignal code’s values to go from 2 to 12 and 8 to 18 etc. I also have to change the copied code to go in between the other lines.
Second Milestone
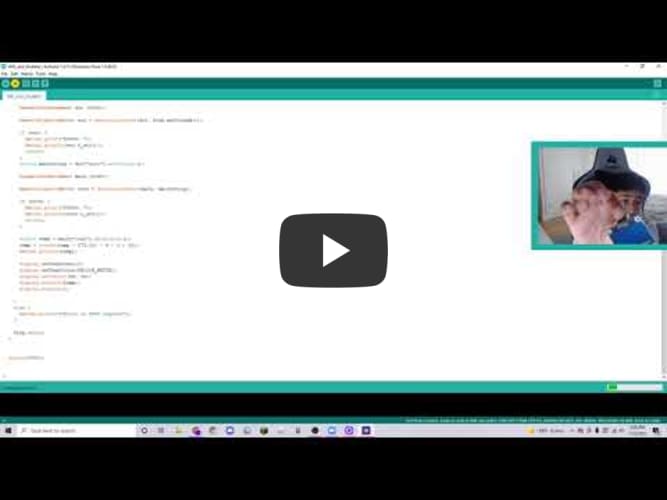
My second milestone was coding my OLED display to display the weather. First I had to solder some pins to my OLED display because otherwise, my display has no way to connect to my ESP32. After I soldered some pins into my OLED display, I then installed the libraries in Arduino IDE that would allow me to actually display things on my OLED. The original library I installed was really buggy and didn’t work. Later, I installed a different library that worked perfectly. I then played around with my display. One note is that the libraries that actually works is called Adafruit SH110X.
   display.setTextSize(1);
   display.setTextColor(SH110X_WHITE);
   display.setCursor(92, 10);
   display.println(temp);
   display.display();
This is the code that displays the temperature!

First Milestone
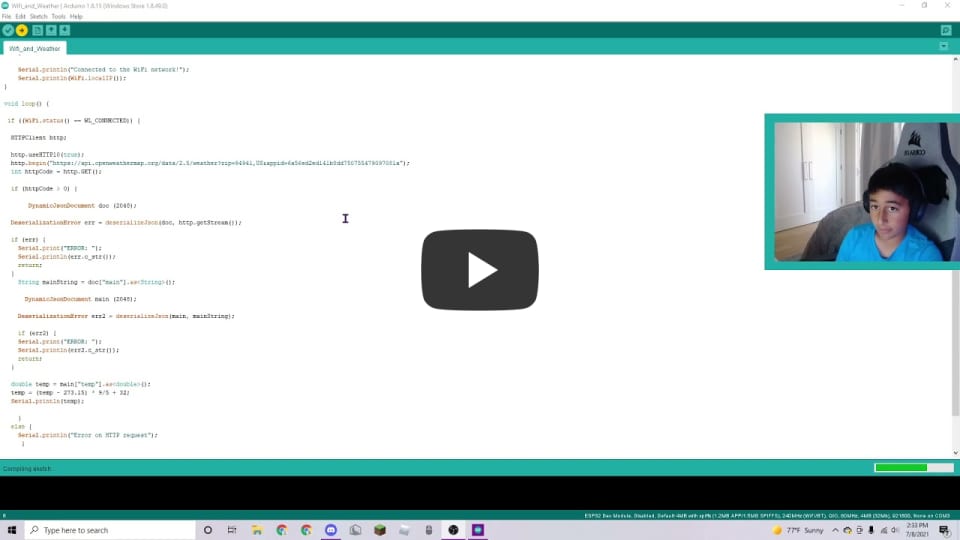
My first milestone was coding a script in Arduino that would allow my ESP32 to connect to the wifi, grab API’s off the internet, and then give me the temperature. First up was connecting my ESP32. All I did was plug a micro-usb charger into my computer and then I connected the charger to my ESP32. Next I downloaded the ESP32 Drivers and the Arduino application. I then watched a tutorial on how to connect an ESP32 board to the Arduino app. Connecting ESP32 Website. Then, I connected my ESP32 to wifi using this video. Connecting ESP32 to Wifi. After connecting my ESP32 to wifi, I then got my API’s from this website. Weather Api’s. Then used a get request to get those API’s. Get Request. After I got the API’s I had to deserialize it and make it legible following this tutorial. Deserialize. Now my code gets the weather and it is really accurate.
      if (err) {
        Serial.print("ERROR: ");
        Serial.println(err.c_str());
        return;
      }
      String mainString = doc["main"].as<String>();

      DynamicJsonDocument main (2048);

      DeserializationError err2 = deserializeJson(main, mainString);

      if (err2) {
        Serial.print("ERROR: ");
        Serial.println(err2.c_str());
        return;
      }

      temp = main["temp"].as<double>();
      temp = round((temp - 273.15) * 9 / 5 + 32);
      Serial.println(temp);
This is the code that deserializes the temperature!